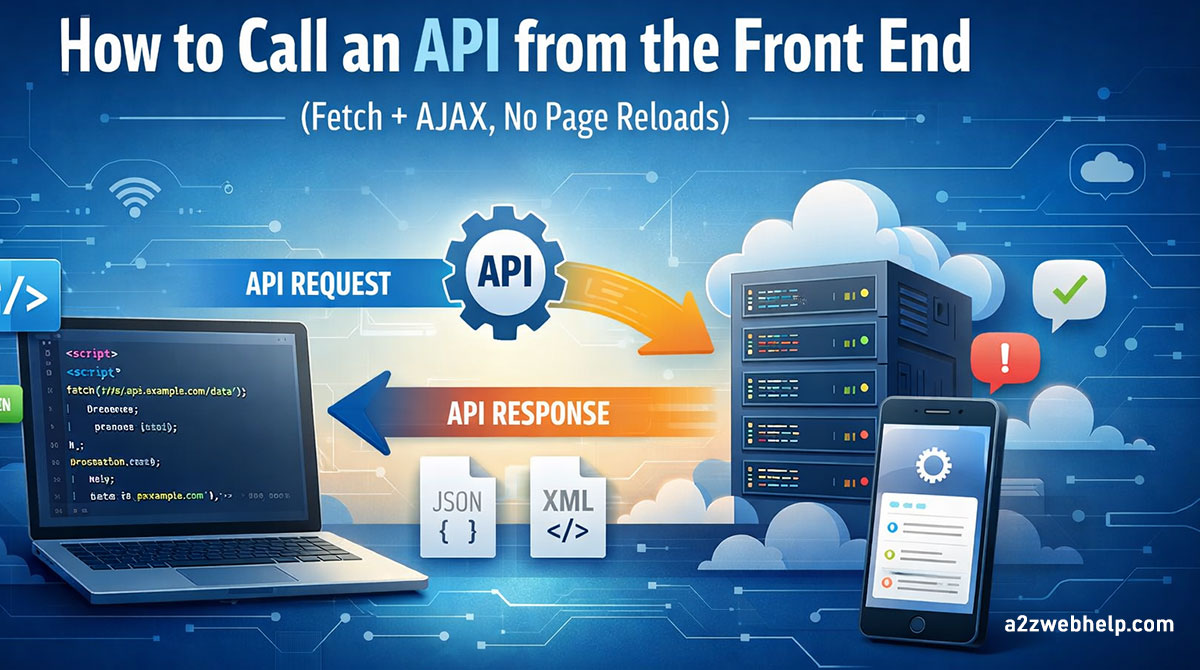
In Part 1, we built a working PHP + MySQL API that could list, fetch, and create products. But an API sitting on your server isn't very useful until something actually calls it. Today we're going to hook it up to a real front end - a page that loads products automatically, lets you add new ones, edit them, and delete them, all without a single page refresh.
Quick Recap of Part 1
Before we jump in, a quick refresher. Last time, we built api/products.php - a
PHP file backed by a MySQL products table that could:
GET api/products.php- returns every product as JSONGET api/products.php?id=1- returns a single productPOST api/products.php- creates a new product from a JSON body
We tested all of that using the browser (for GET) and Postman (for POST). That's fine for development, but your actual users are never going to open Postman to add a product. They're going to click a button on your website. That's what we're building today.
What Does "Calling an API" Actually Mean?
Remember the waiter analogy from Part 1? You were the client, the API was the waiter, and the kitchen was the server. "Calling an API" is simply you - sitting at the table - actually flagging down the waiter and placing the order. In web terms, that means your JavaScript code sends an HTTP request to your PHP endpoint and waits for the response.
Until now, our API worked, but nobody was calling it from a real page. Today, your browser becomes the customer, and JavaScript becomes the hand that raises to get the waiter's attention.
Meet fetch()
fetch() is a built-in JavaScript function that every modern browser understands.
You give it a URL and some options (method, headers, body), and it sends the request for you.
No libraries, no jQuery, nothing to install - it just works.
Basic fetch() shape
fetch('api/products.php')
  .then(response => response.json())
  .then(data => console.log(data));
We'll mostly use the newer async/await style in this tutorial since it reads more
like normal step-by-step code, but both do the exact same thing under the hood.
Building the Front End
We're going to build one simple HTML page with three moving parts: a table that shows all products, a small form to add a new one, and edit/delete buttons on each row. Let's go step by step.
Step 1: The HTML Page Structure
Create a file called index.html in the same folder as your api directory:
index.html
<!DOCTYPE html>
<html lang="en">
<head>
  <meta charset="UTF-8">
  <title>Product Manager</title>
</head>
<body>
  <h1>Products</h1>
  <form id="addProductForm">
    <input type="text" id="name" placeholder="Product name" required>
    <input type="number" id="price" step="0.01" placeholder="Price" required>
    <button type="submit">Add Product</button>
  </form>
  <table border="1" cellpadding="8" id="productTable">
    <thead>
      <tr>
        <th>ID</th>
        <th>Name</th>
        <th>Price</th>
        <th>Actions</th>
      </tr>
    </thead>
    <tbody id="productTableBody">
      <!-- Rows get added here by JavaScript -->
    </tbody>
  </table>
  <script src="app.js"></script>
</body>
</html>
Nothing fancy here - just a form and an empty table body that JavaScript is going to fill in. We'll style this properly later, but right now let's focus on getting the data flowing.
Step 2: Loading Products with GET
Create app.js. First, let's load and display every product the moment the page opens:
app.js
const API_URL = 'api/products.php';
async function loadProducts() {
  const response = await fetch(API_URL);
  const result = await response.json();
  const tableBody = document.getElementById('productTableBody');
  tableBody.innerHTML = '';
  result.data.forEach(product => {
  const row = document.createElement('tr');
  row.innerHTML = `<td>${product.id}</td>
    <td>${product.name}</td>
    <td>₹${product.price}</td>
    <td><button onclick="deleteProduct(${product.id})">Delete</button></td>`;
  tableBody.appendChild(row);
  });
}
// Load products as soon as the page opens
loadProducts();
That's it - open index.html in your browser and your product table should
populate automatically. Under the hood: the page loads, loadProducts() fires,
fetch() calls your PHP API, PHP asks MySQL for the data, and the JSON comes right
back into your JavaScript. The whole round trip usually takes under a second.
http://localhost/your-project/index.html via XAMPP)
and not by double-clicking the file directly. Browsers block fetch requests from
file:// pages for security reasons.
Step 3: Adding a Product with POST
Now let's wire up the form. When it's submitted, we'll stop the page from reloading, grab the input values, and send them to the API as JSON:
app.js (continued)
const form = document.getElementById('addProductForm');
form.addEventListener('submit', async function (event) {
  event.preventDefault(); // stop the normal form reload
  const name = document.getElementById('name').value;
  const price = document.getElementById('price').value;
  const response = await fetch(API_URL, {
    method: 'POST',
    headers: {
      'Content-Type': 'application/json'
    },
    body: JSON.stringify({ name: name, price: price })
  });
  const result = await response.json();
  if (result.success) {
    form.reset();       // clear the form
    loadProducts();     // refresh the table with the new product
  } else {
    alert(result.message);
  }
});
Notice the Content-Type: application/json header - that's important. It tells
your PHP script "hey, the body I'm sending you is JSON," which is exactly why our PHP code in
Part 1 read it with file_get_contents('php://input') instead of
$_POST. Fill in the form, hit submit, and watch the new product appear in the
table instantly - no reload, no Postman, nothing but your own page.
Completing the API: Adding PUT and DELETE
A product manager isn't much good if you can only add things and never fix a typo or remove a discontinued item. Let's finish the CRUD cycle - Create, Read, Update, Delete - by adding two more endpoints to our PHP file.
Step 4: Add a PUT Endpoint (Update a Product)
Open api/products.php from Part 1 and add this block, right before the "Method not allowed" fallback at the bottom:
api/products.php (add this)
if ($method === 'PUT') {
    $id = (int) ($_GET['id'] ?? 0);
    $input = json_decode(file_get_contents('php://input'), true);
    if ($id === 0) {
        http_response_code(400);
        echo json_encode(['success' => false, 'message' => 'Product id is required']);
        exit;
    }
    $name  = trim($input['name'] ?? '');
    $price = $input['price'] ?? null;
    if ($name === '' || $price === null) {
        http_response_code(400);
        echo json_encode(['success' => false, 'message' => 'name and price are required']);
        exit;
    }
    $stmt = $pdo->prepare('UPDATE products SET name = ?, price = ? WHERE id = ?');
    $stmt->execute([$name, $price, $id]);
    http_response_code(200);
    echo json_encode(['success' => true, 'message' => 'Product updated']);
    exit;
}
Step 5: Add a DELETE Endpoint (Remove a Product)
Right below that, add the delete handler:
api/products.php (add this)
if ($method === 'DELETE') {
    $id = (int) ($_GET['id'] ?? 0);
    if ($id === 0) {
        http_response_code(400);
        echo json_encode(['success' => false, 'message' => 'Product id is required']);
        exit;
    }
    $stmt = $pdo->prepare('DELETE FROM products WHERE id = ?');
    $stmt->execute([$id]);
    http_response_code(200);
    echo json_encode(['success' => true, 'message' => 'Product deleted']);
    exit;
}
Your API now supports the full set: GET, POST, PUT, and DELETE - the four verbs that make up almost every real-world API you'll ever work with.
Step 6: Calling PUT from the Front End
Back in app.js, let's add an edit button next to delete. For simplicity, we'll
use a quick prompt() to grab the new values - in a real project you'd probably
use an inline edit form or a modal, but the fetch logic is identical either way:
app.js (continued)
async function editProduct(id, currentName, currentPrice) {
  const newName = prompt('Update product name:', currentName);
  if (newName === null) return; // user clicked cancel
  const newPrice = prompt('Update price:', currentPrice);
  if (newPrice === null) return;
  const response = await fetch(`${API_URL}?id=${id}`, {
    method: 'PUT',
    headers: {
      'Content-Type': 'application/json'
    },
    body: JSON.stringify({ name: newName, price: newPrice })
  });
  const result = await response.json();
  if (result.success) {
    loadProducts();
  } else {
    alert(result.message);
  }
}
Update your table row in loadProducts() to include the edit button:
app.js - update the row.innerHTML line
row.innerHTML = `
  <td>${product.id}</td>
  <td>${product.name}</td>
  <td>₹${product.price}</td>
  <td>
    <button onclick="editProduct(${product.id}, '${product.name}', ${product.price})">Edit</button>
    <button onclick="deleteProduct(${product.id})">Delete</button>
  </td>
`;
Step 7: Calling DELETE from the Front End
app.js (continued)
async function deleteProduct(id) {
  const confirmed = confirm('Are you sure you want to delete this product?');
  if (!confirmed) return;
  const response = await fetch(`${API_URL}?id=${id}`, {
    method: 'DELETE'
  });
  const result = await response.json();
  if (result.success) {
    loadProducts();
  } else {
    alert(result.message);
  }
}
Refresh your page. You should now be able to add, edit, and delete products, with the table updating instantly every time - this is exactly how real dashboards and admin panels work under the hood.
Handling Errors Gracefully
Right now, if your server is down or the request fails entirely (not just a "bad" response, but a total network failure), your code will throw an unhandled error. It's worth wrapping your fetch calls in a try/catch so users see a friendly message instead of a broken page:
app.js - safer version of loadProducts()
async function loadProducts() {
  try {
    const response = await fetch(API_URL);
    if (!response.ok) {
      throw new Error('Server returned an error: ' + response.status);
    }
    const result = await response.json();
    // ... render the table as before
  } catch (error) {
    console.error('Failed to load products:', error);
    alert('Something went wrong while loading products. Please try again.');
  }
}
A good rule of thumb: response.ok tells you whether the HTTP status was in the
200 range. Even if the request technically "succeeds" at the network level, your API might
still return a 400 or 500 - always check both the network result and the success
flag in your JSON response before assuming everything went fine.
Full Working Code (Reference)
Here's the complete app.js with everything we built today, all in one place:
app.js - complete file
const API_URL = 'api/products.php';
async function loadProducts() {
  try {
    const response = await fetch(API_URL);
    if (!response.ok) throw new Error('Server error: ' + response.status);
    const result = await response.json();
    const tableBody = document.getElementById('productTableBody');
    tableBody.innerHTML = '';
    result.data.forEach(product => {
      const row = document.createElement('tr');
      row.innerHTML = `
        <td>${product.id}</td>
        <td>${product.name}</td>
        <td>₹${product.price}</td>
        <td>
          <button onclick="editProduct(${product.id}, '${product.name}', ${product.price})">Edit</button>
          <button onclick="deleteProduct(${product.id})">Delete</button>
        </td>
      `;
      tableBody.appendChild(row);
    });
  } catch (error) {
    console.error('Failed to load products:', error);
    alert('Something went wrong while loading products.');
  }
}
document.getElementById('addProductForm').addEventListener('submit', async function (event) {
  event.preventDefault();
  const name = document.getElementById('name').value;
  const price = document.getElementById('price').value;
  const response = await fetch(API_URL, {
    method: 'POST',
    headers: { 'Content-Type': 'application/json' },
    body: JSON.stringify({ name, price })
  });
  const result = await response.json();
  if (result.success) {
    event.target.reset();
    loadProducts();
  } else {
    alert(result.message);
  }
});
async function editProduct(id, currentName, currentPrice) {
  const newName = prompt('Update product name:', currentName);
  if (newName === null) return;
  const newPrice = prompt('Update price:', currentPrice);
  if (newPrice === null) return;
  const response = await fetch(`${API_URL}?id=${id}`, {
    method: 'PUT',
    headers: { 'Content-Type': 'application/json' },
    body: JSON.stringify({ name: newName, price: newPrice })
  });
  const result = await response.json();
  result.success ? loadProducts() : alert(result.message);
}
async function deleteProduct(id) {
  if (!confirm('Are you sure you want to delete this product?')) return;
  const response = await fetch(`${API_URL}?id=${id}`, { method: 'DELETE' });
  const result = await response.json();
  result.success ? loadProducts() : alert(result.message);
}
loadProducts();
fetch() doing the same job Postman was doing for you manually in Part 1.